

Custom Compliance Policy Scripts will change how you build out compliance policies. In order to make a Custom Compliance Policy Script, you first must have Intune. You can review the licenses here. Once you have the proper licensing you should be able to log into the endpoint manager. The first thing we will need is a PowerShell script and a Json for this policy.
Custom Compliance Policy Scripts
The first thing we are going to do is build out the script. In this example, we are going to test for Sentinel One and Pearch. There are two ways we can do this, We can test if the services are installed or we can test to see if the product is installed. We will be using the services because the Product is a slower process. The output needs to be a compressed JSON file. Time to start building.
Firstly, we get the services with Get-Service.
#Grabs Services
$Services = Get-Service
Since we have the services, we can start testing against the collected info. We are looking for the services for perch and sentinel one. We will search for these two services using a where-object command. Below are the two services we are looking for.
- Perch = Perch-Auditbeat
- Sentinel One = SentinelAgent
We will wrap this where-object command inside an if..then statement. The output we are looking for is True or False.
#Checks the services
$ReturnHash = @{
    Perch     = if ($Services | where-object { $_.name -like "perch-auditbeat" }) { $true } else { $false }
    S1        = if ($Services | where-object { $_.name -like "SentinelAgent*" }) { $true } else { $false }
}
Finally, we sort and we send the results to a json file using the sort-object and convertto-json commands.
#Returns the Service
$ReturnHash | Sort-Object -Property name | ConvertTo-Json -Compress
Make sure to save this script as a PS1 because we will have to upload it later.
Custom Compliance Policy JSON
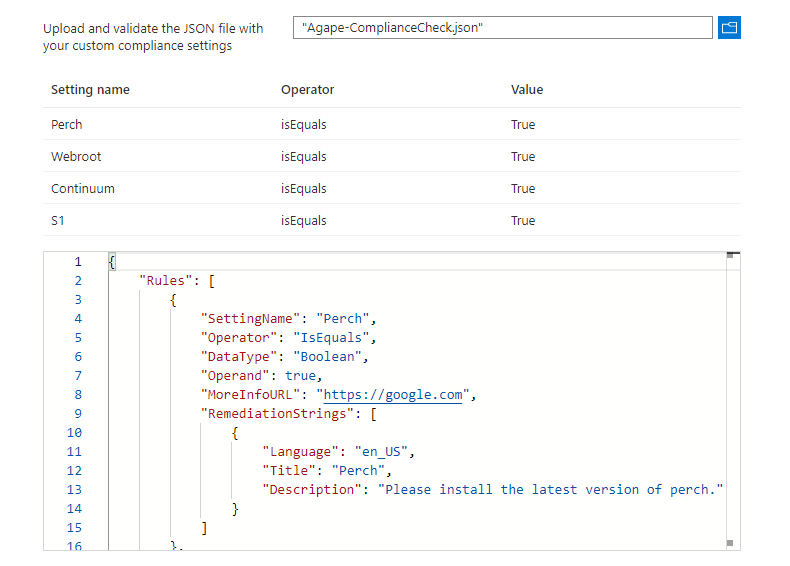
The next step is to create a custom compliance JSON file for your PowerShell. The JSON responds to the supported operators of IsEqual and the supported datatype of boolean. You can learn more about how to build your JSON here. Below is the JSON file.
{
    "Rules": [
        {
            "SettingName": "Perch",
            "Operator": "IsEquals",
            "DataType": "Boolean",
            "Operand": true,
            "MoreInfoURL": "https://google.com",
            "RemediationStrings": [
                {
                    "Language": "en_US",
                    "Title": "Perch",
                    "Description": "Please install the latest version of perch."
                }
            ]
        },
        {
            "SettingName": "S1",
            "Operator": "IsEquals",
            "DataType": "Boolean",
            "Operand": true,
            "MoreInfoURL": "https://google.com",
            "RemediationStrings": [
                {
                    "Language": "en_US",
                    "Title": "S1",
                    "Description": "Please install S1"
                }
            ]
        }
    ]
}
Building The Custom Compliance Policy
Navigation
As a result of having both of these files ready, moving forward is going to be sweet.
- Open Endpoint Manager
- Click Devices
- Click Compliance Policies
- Click Scripts.
- Click Add and select windows 10 and later
Adding The Script
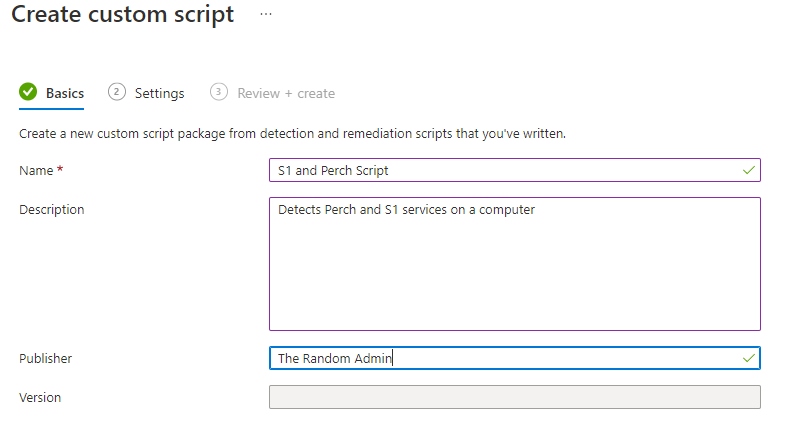
Under the basics tab, we need to fill in some information.
- Name it something that makes sense. For example, S1 and Perch Script
- The description is where you need to explain what’s going on. If you have any links, this is where you should add them.
- The publisher is going to be yourself unless you are pulling the script from someone else.
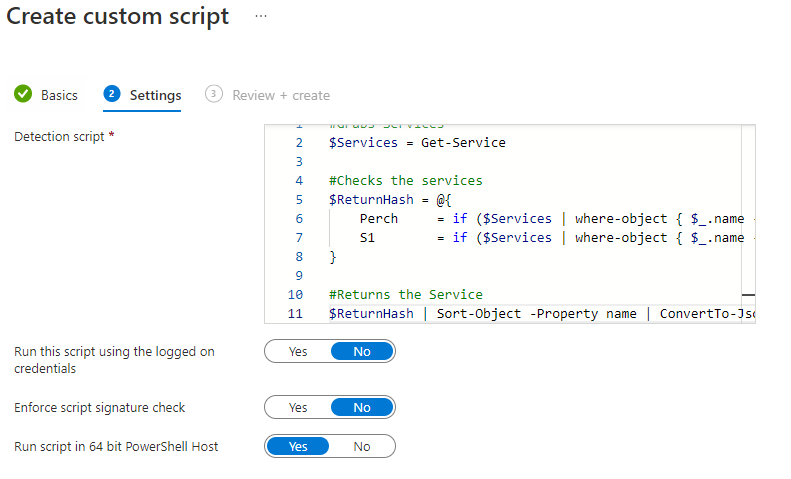
Afterward, Click next to go to the Settings tab. Inside this tab, you will need to add the script that we wrote above. Just in case you forgot it.
#Grabs Services
$Services = Get-Service

#Checks the services
$ReturnHash = @{
    Perch     = if ($Services | where-object { $_.name -like "perch-auditbeat" }) { $true } else { $false }
    S1        = if ($Services | where-object { $_.name -like "SentinelAgent*" }) { $true } else { $false }
}

#Returns the Service
$ReturnHash | Sort-Object -Property name | ConvertTo-Json -Compress
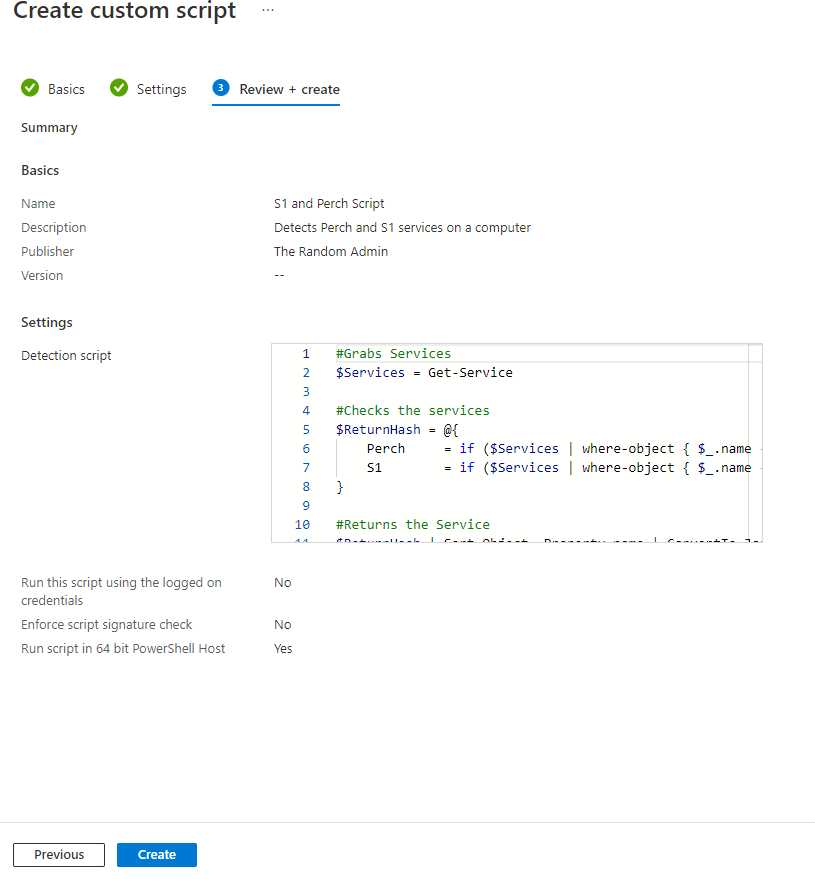
The script needs to run as the computer since we are pulling from the services. We don’t need to enforce the script signature check and we are running the PowerShell 64 because it’s 2022. Once you have these set, click next to go to the review page. Review the settings and click create. The script takes about 2 minutes to show up in the Compliance Policies scripts.
Building the Custom Compliance Policy
Navigate back to Endpoint manager > Devices > Compliance Policies. Click the Create Policy button on the top of the screen. A “Create a policy” sidebar will appear. Set the platform to “Windows 10 and Later” and click create.
Basic Tab
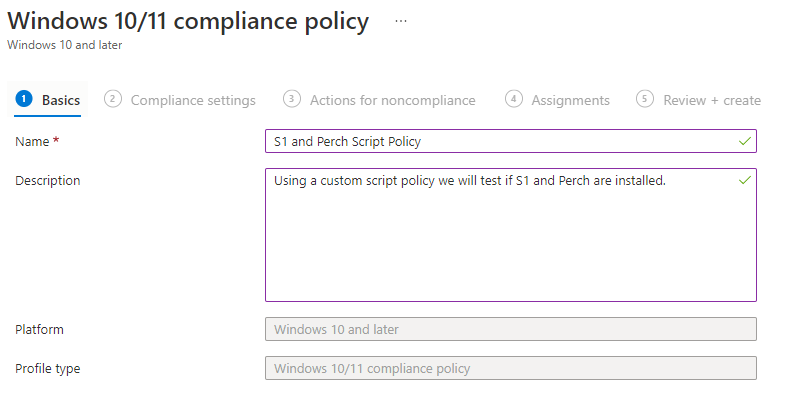
This is where we will name the policy and give it a good description. The name needs to be unique and helps the end user understand what’s going on. I have named this one S1 and Perch Script Policy and described what it is doing in the description.
Compliance Settings Tab
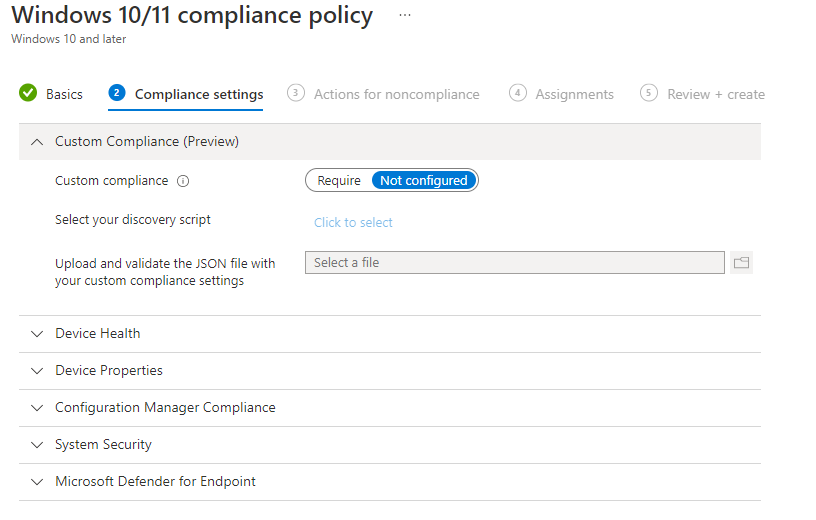
Here is where we will be adding the script that we created in the previous step. Firstly, click the required toggle box. Next, click the “Click to Select”. A side “select a discovery script” will appear. Find your script and select it here. After that, we need to upload the JSON file. Click the blue icon and select your file. Additional information will appear.
Action for NonCompliance
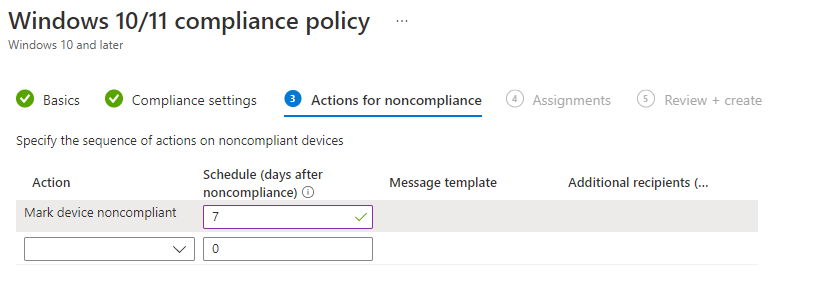
Aftward, click the next button to bring yourself to the Action for NonCompliance tab. There is one default item in this list. Here you can do things like, emailing the user or marking them as noncompliant. You can even retire the machine after so many days. You can add message templates and more. For us, we are using the default setup at the 7 days mark.
Assignments
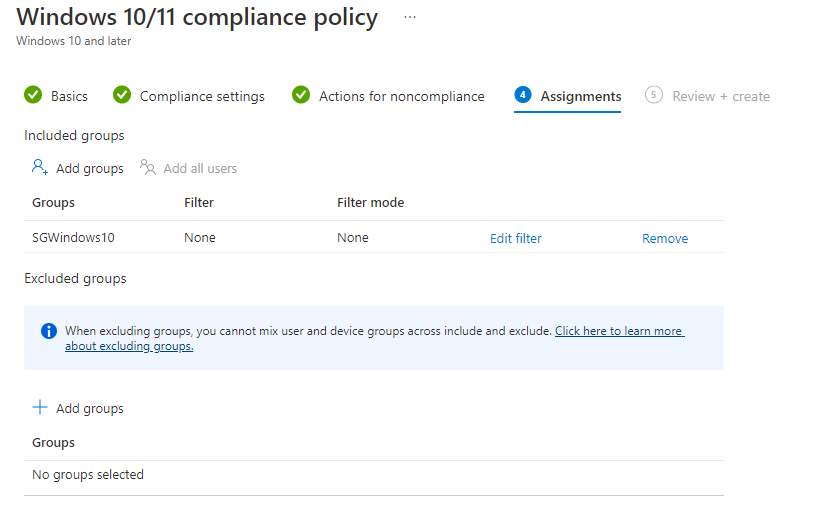
Comparatively, click next. The next tab is the assignments tab. This is where you can select your groups. In this example, I selected the windows 10 groups. To learn how to set up a dynamic windows 10 group, you can go here. To add a group, all you have to do is click Add Groups under the included. If you want to exclude a group, then add a group under excluded groups.
Review and Create
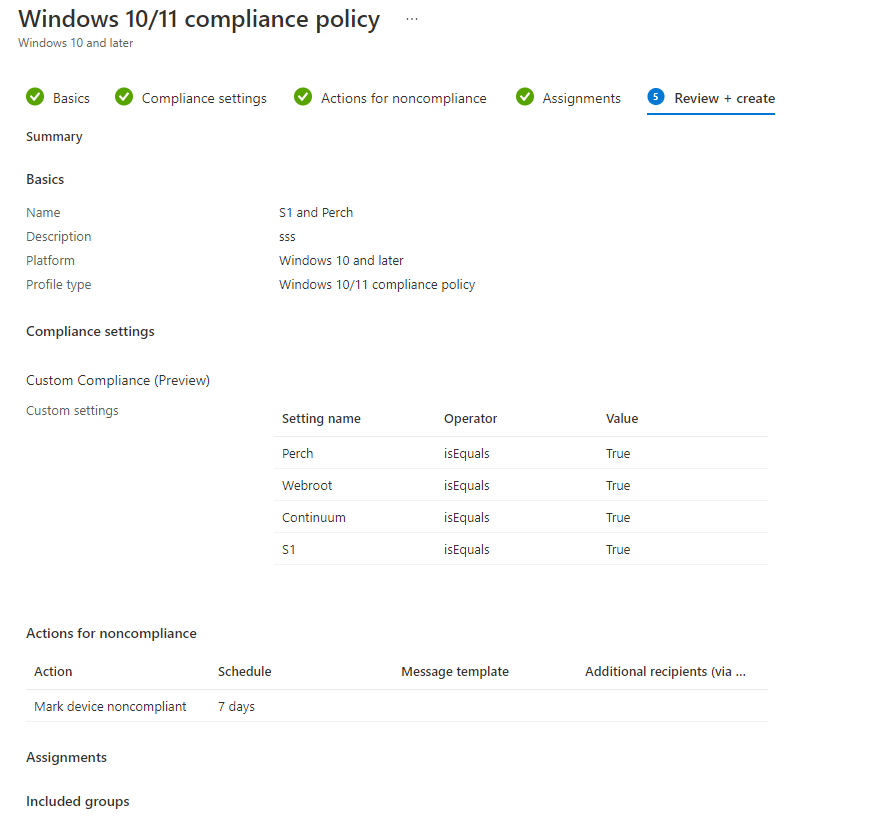
Finally, once you have the pieces put together, we can review them. If you see any errors, go back and fix them accordingly. If not, Click create. It can take a few minutes for the Custom Compliance Policy Scripts to show up in the main menu. Give it time.
Conclusion
Creating a Custom Compliance Policy Scripts will change how you Intune. It has changed how I Intune. The more you dig the deeper this rabbit whole will go. Take time and enjoy reading each thing you can do. It makes the world of custom compliance policies with PowerShell scripts different.