Clear Print Jobs with PowerShell
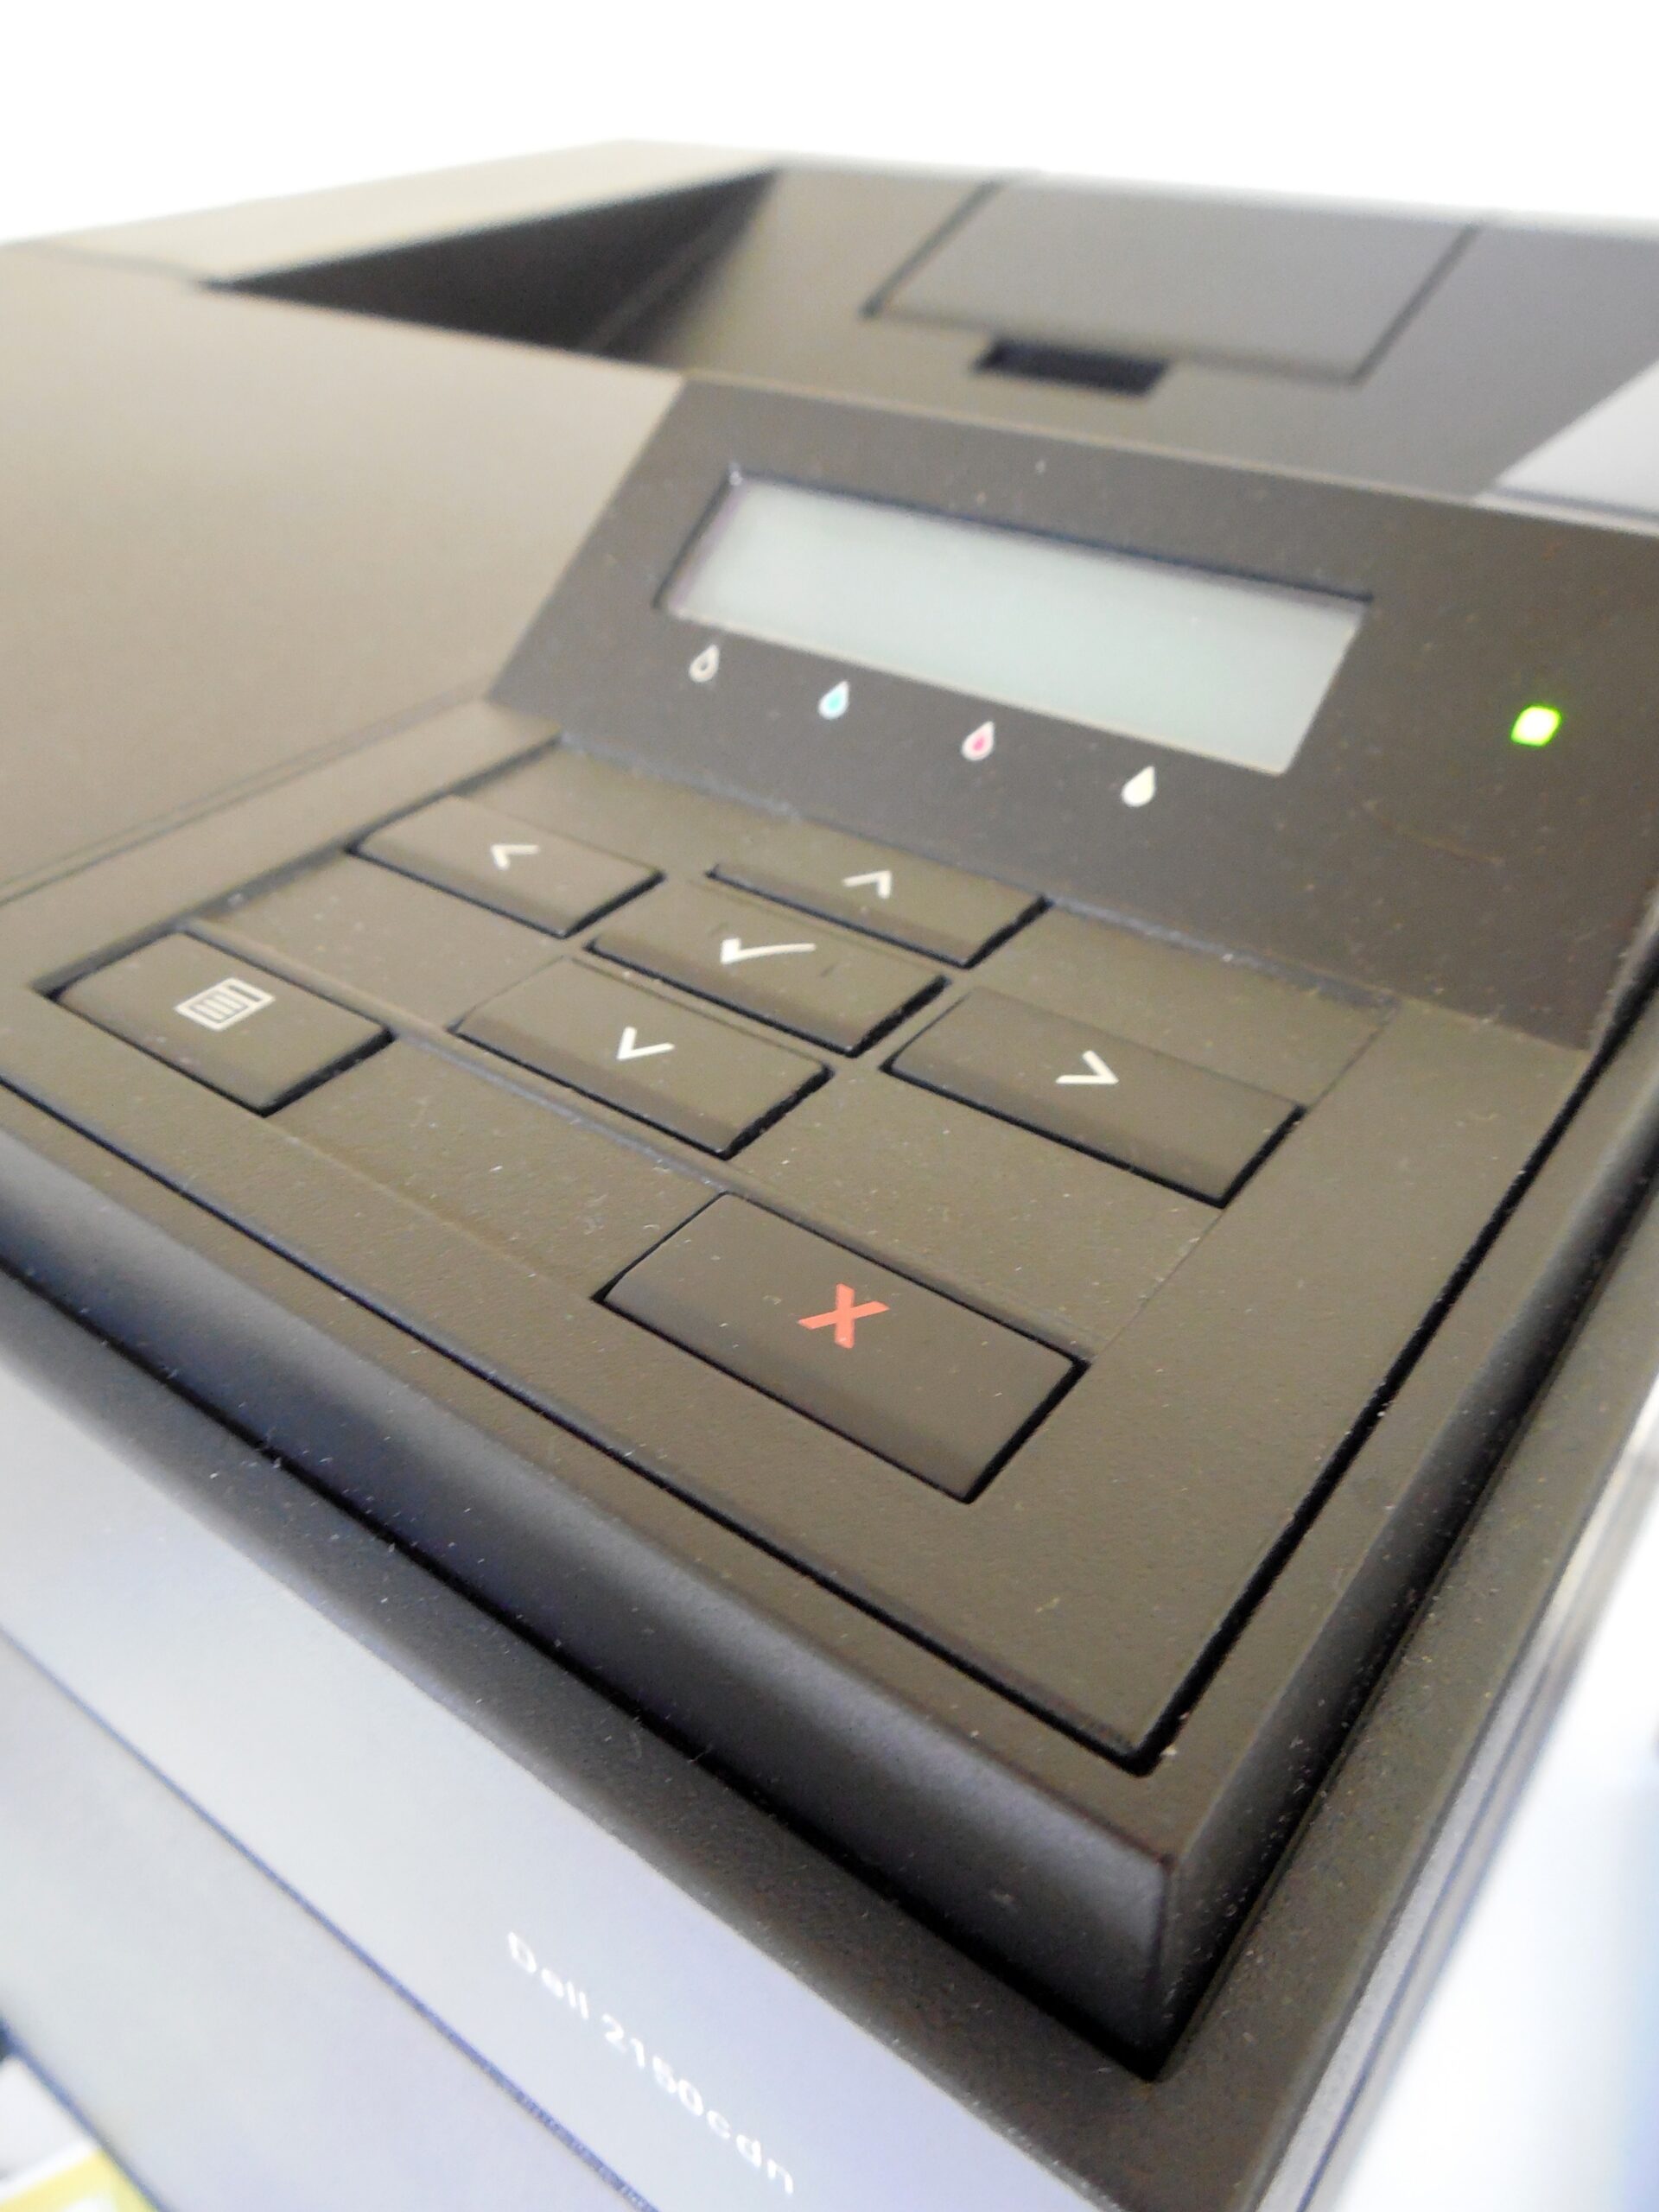
Reading Time: 2 minutesDuring my in-house days, one of the things I had to do constantly was clear people’s print jobs. So I learned to Clear Print Jobs with Powershell to make my life easier. It surely did. With PowerShell I could remotely clear the print jobs as most of my machines were on the primary domain. All you need to know was the server and the printer’s name. The server could be the computer in question if it’s a local printer. Or it could be the print server. Wherever the queue is being held.
The Script
function Clear-SHDPrintJobs {
    [cmdletbinding()]
    param (
        [parameter(HelpMessage = "Target Printer", Mandatory = $true)][alias('Name', 'Printername')][String[]]$name,
        [parameter(HelpMessage = "Computer with the printer attached.", Mandatory = $true)][alias('Computername', 'Computer')][string[]]$PrintServer
    )
    foreach ($Print in $PrintServer) {
        foreach ($N in $name) {
            $Printers = Get-Printer -ComputerName $Print -Name "*$N*"
            Foreach ($Printer in $Printers) {
                $Printer | Get-PrintJob | Remove-PrintJob
            }
        }
    }
}
The Breakdown
It’s time to break down this code. The parameters are set to mandatory. As you need this information. Notice, both parameters are lists of strings. This means you can have the same printer name on multiple printers and trigger this command.
Parameters
We are using two parameters. The first is the name of the Printer. This parameter is a mandatory parameter. We are using the alias switch here as well. Basically, this switch gives different options to make the command easier to work with. The options are, Name and Printername. It is also a list of strings. This way we can import an array if need be. I’ll go over why that’s important later. Finally, we have a help message. This can be useful for the user to figure out what they need to do.
[parameter(HelpMessage = "Target Printer", Mandatory = $true)][alias('Name', 'Printername')][String[]]$name
The next parameter is like the first. It is a Mandatory parameter with alias options. The options are “ComputerName” and “Computer”. I set the name as “PrintServer” because I dealt with print servers most of the time. Once again we have a list of strings for multiple machines.
Foreach Loops
Next, we look at our function. This is where we Clear Print Jobs with PowerShell. There are three loops in total. The first foreach loop cycles through the print server list. So for each print server, we enter the next loop. The next loop consists of the Printer Names.
foreach ($Print in $PrintServer) {
    foreach ($N in $name) {
        #Do something
    }
}
Inside the Name loop, we use the get-printer command. We target the print server and ask for a printer that contains the name we requested. Thus, if you use a *, you can clear out all the print jobs from that device. This is a very powerful option.
$Printers = Get-Printer -ComputerName $Print -Name "*$N*"
After gathering the printers from the server, we start another loop. This loop will be foreach printer we have from this server. We pipe the output from the Printers to Get-PrintJob. This allows us to see the print jobs. Then we pipe that information into Remove-PrintJob. This clears the print job.
$Printer | Get-PrintJob | Remove-PrintJob
That’s it for this function. It’s a great little tool that will change how you clear print jobs of buggy print systems.
Conclusion
In conclusion, I have used this function a few hundred times in my day. The environment was the domain level. This does not work for cloud print options.
Additional reading
Images made by MidJourney AI