

This past month I was given a task to Uninstall a few applications in Intune. However, the app's uninstall feature did not work according to plan. However, a bunch of these worked with the cim methods of uninstall. Which I thought was funny. After writing a bunch of the same code over and over again, I decided to write a General Uninstaller for Intune. This also requires a custom Detection Script.
The General Uninstaller Script
param (
    [string[]]$ProductNames
)
$Products = Get-CimInstance -ClassName win32_Product
foreach ($Product in $ProductNames) {
    if ($null -eq ($Products | where-object {$_.name -like "$Product"})) {
        write-host "Success"
        exit 1212
    } else {
        #Grabs the install Location
        $InstallLocation = ($Products | where-object {$_.name -like "Product"}).InstallLocation

        #Uninstalls the product in question
        $Products | where-object {$_.name -like "Product"} | Invoke-CimMethod -MethodName uninstall

        if ($Null -ne $InstallLocation) {
            foreach ($Location in $InstallLocation) {
                if (Test-Path $Location) {
                    Remove-Item -Path $Location -Force -Recurse
                }
            }
        }
        exit 1212
    }
}
Here we have a general uninstaller for Intune. This script allows us to feed the product name as is or we can add wild cards to the name. We start off the script by grabbing the product names from the user. This will be done during the intune setup. When it deploys, the first thing this script does is grab all the applications inside the win32_product. If the application didn't register in this windows system, then this script is going to be pointless for you.
Once we have the products, we go through each Product Name. We first check to see if the product is on the system. If it isn't, we output success and exit with a unique exit code. This will be used later. However, if the product is on the machine, we grab the install location. Then we pipe the product into the uninstall method in the cim method command. Finally, we see if the install location exists inside the installed object. Some applications give us this information some don't. Some give us multiple locations while others don't.
To work around this, we check if install location property is null. If it isn't null, then we move on and start a loop. The loop is only because some install locations have more than one location. Then we test if the file path still exists. Sometimes, the applications uninstaller will remove the folder, sometimes, it doesn't and that's why we test. If the file location is there still, we remove it with a good old force and recurse. Finally, we exit with the unique exit code.
The General Uninstall Detection Script
$ProductNames = "ProductName","Product2Name"
$Products = Get-CimInstance -ClassName win32_Product
foreach ($Product in $ProductNames) {
    if ($null -ne ($Products | where-object {$_.name -like "$Product"})) {
        exit 1
    }
}
write-host "Success"
exit 0
With any custom script installs or uninstalls, a custom detection script is necessary. The first step is to grab the product names. Just like before, it's a list of strings. So they can do more than one. Then we grab all the products with our cim instance and win32_product. Then we loop through each product name and see if the product exists still. If it does, we exit with a 1. This basically says, I failed! Intune needs a string and an exit code of 0 to be successful. The exit of 1 without the string ends the script and without that string, intune assumes failure. However, if we go through them all, and none trigger the exit, then we are safe to exit with a 0 and the beautiful word success.
Building it out in Intune.
Building the IntuneWin File
The first thing you will need to do is save your script into a folder and then download the WinIntuneApp, aka, Win32 Prep Tool, to package up the powershell script. Unpackage this tool and start up your command prompt. The application will guide you through the process of setting up a intunewin app.

- Please specify the source folder: This is the folder that will have your script inside of it. If you wanted to create something more complex, this part would change your way of deployment. Future blog post coming.
- Please Specify the setup file: This is going to be the powershell name. General-Uninstall.ps1
- please specify the output folder: This is the folder that the intunewin file will be dropped.
- Do you want to specify catalog folder (Y/N)? This one is for more advanced packages. We can say no to this option for this setup.
Setting Up Intune for Your Uninstaller
Now we have the IntuneWin file. It's time to setup the intune Deployment. This is where you will be able to add things like the productname to our General Uninstaller for Intune.
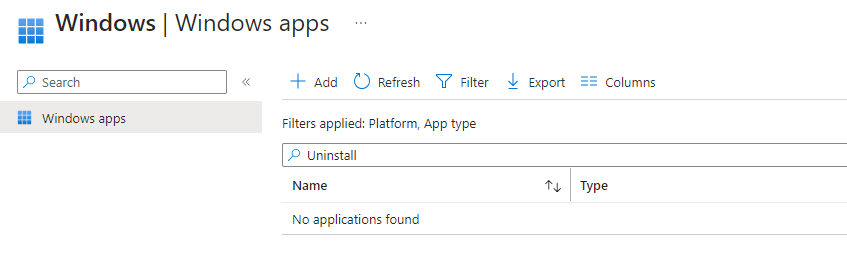
- Navigate to Endpoint Manager
- Click Apps
- Click Windows
- Click Add
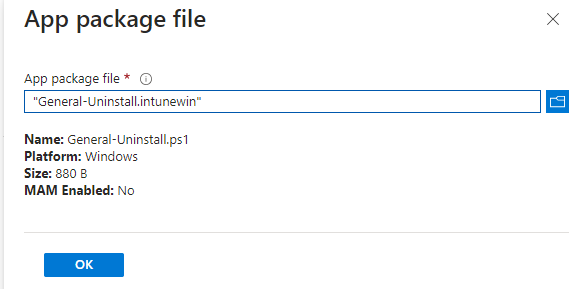
- Click the Select App Package File.
- Add the General-Uninstall.IntuneWin file.
- Click ok
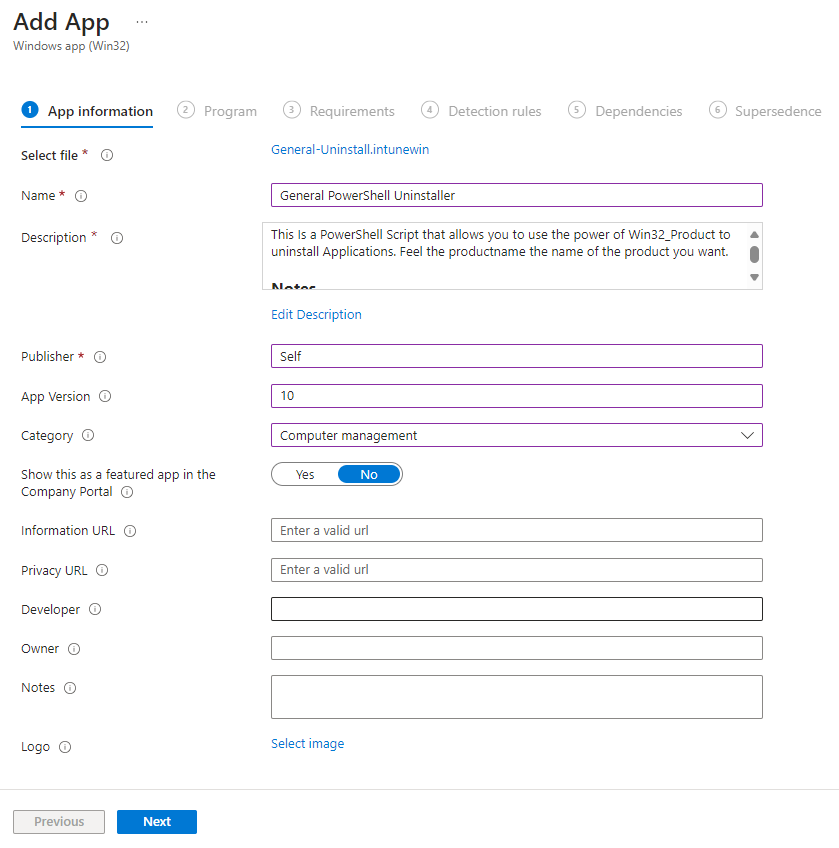
- Change the Name
- Click the edit Description and add a detailed description for other users. Make sure to provide instructions on what to do with the detection script.
- The publisher can be your company or in my case self.
- The gategory is going to be computer management as it is a general uninstaller.
- Feel free to add any additional information. Link this blog post if you wish for the information URL.
- Click Next when finished.

The next screen is programing.
- Install command:
PowerShell.exe -ExecutionPolicy Bypass -File .\General-Uninstall.ps1 -ProductName "*Product Name*"
- The Uninstall command can be as simple as a removal file.
- Device Restart Behavior: Determine behavior based on return codes
- Return Codes: Remember that unique exit code we had in the script. This is where you would place that code. I have it as 1212 is a success.
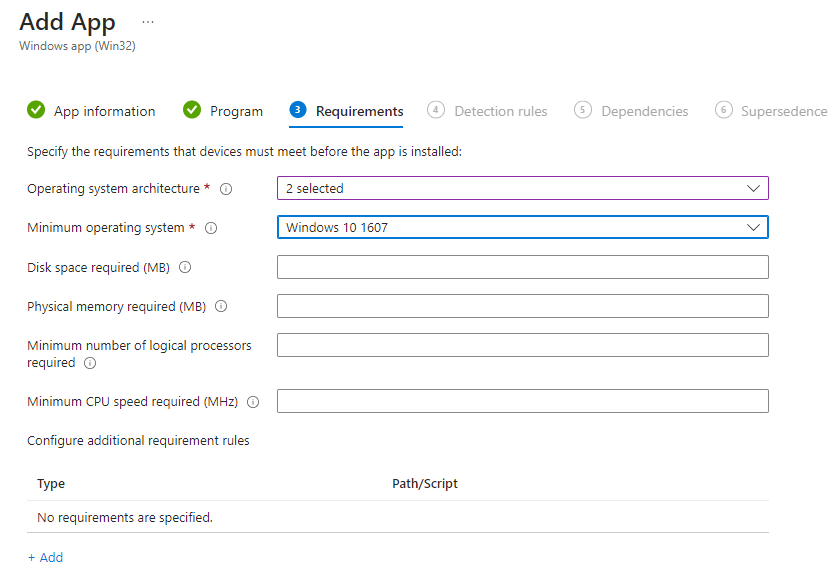
The next screen the requirement screen. We can do a lot with this screen, but we don't need to here.
- Operating System Architecture:
- 32
- 64
- Minimum Operating System: Windows 10 1607.
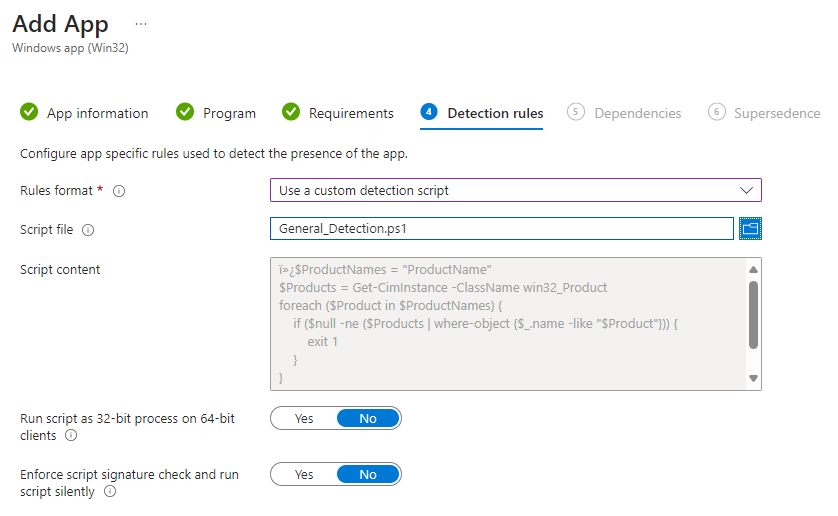
Now we need to setup the custom detection.
- Select User A custom Detection Script
- Validate your product names to be uninstalled.
- Upload and click next.
- Accept the defaults for Dependencies and Supersedences.
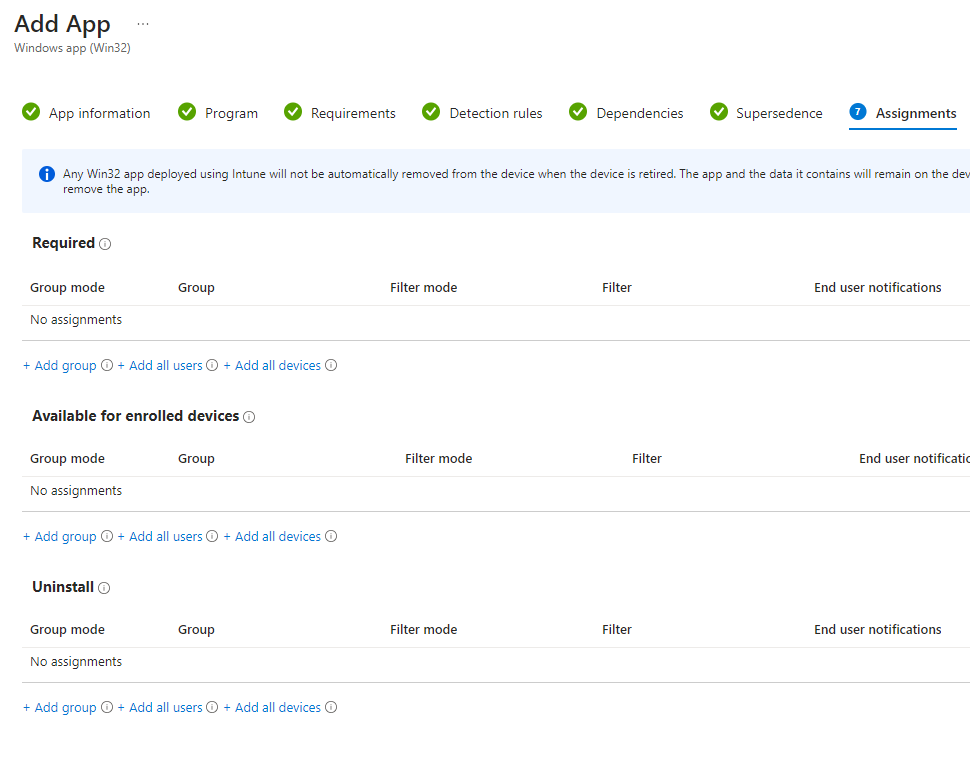
The final screen is where you are able to assign the script to people. There are three sections. Required, aviable for enrolled devices and uninstall. This is where you will select who is going to get what.
Testing, Monitoring, and deployment
The assignment area is where you assign the script to who you want. This is very important. Here is where you would want to test the users. Have a test group and apply it first. H
- Deploy the uninstall app to the test device group.
- Monitor the Intune deployment status for the app to ensure successful deployment to devices/users.
- Test if the application is still on a target computer. This can be done with control pannel, powershell, and more options.
- Redefine and correct any issues and restart the testing.
- Deploy
What can we learn as a person today?
When was the last time you threw a rock? How about a rock in a lakes? The last time you did, did you notice the ripples? Just like a deployment like this can cause ripples in your company, removing things from your life can cause just as many ripples in yourself. Make sure you are ready to let go of that thing you are holding onto. It's always a good idea to test it out, or have a support group to help you. Those ripples can do some damage. So be ready to Uninstall parts of your life before you do it.