

As I have been in IT, i have seen more than one way to handle emails after a user has left, both on-prem and off prem. This setup is for office 365/exchange online.
Shared Mailboxes And Forwarder
Overview
This method is based on a variation of how Microsoft suggests doing it with Office 365. But it doesn't limit the amount of time required. The Basic Idea is to convert a mailbox from a standard user to a shared mailbox. Then Grant the user who needs access to the mailbox access. This way they can go into the OWA and access past emails.
Details
There are hundreds of documents out there showing you how to do this, It's not a hard process at all. Why not another!
- Log into the O365 client using either your user/exchange admin or global admin account.
- Click the Admin Center button.
-
- Next, Click the Exchange Admin Button at the bottom left-hand side of the screen.
-
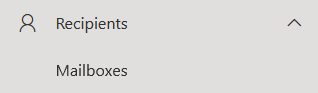
- Now you are in the Exchange Admin Center. If you are familiar to exchange on-prem, it doesn't look anything like that but has similar flows. Click the recipient button on the left.
- Click the Mailbox button.
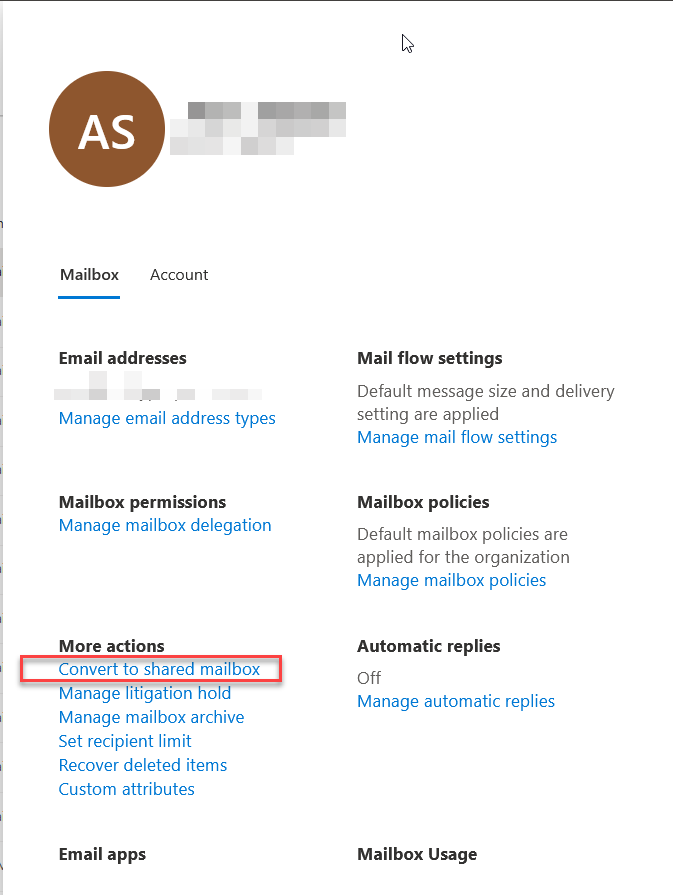
- Search for the user you wish to edit and click on the user. The user menu will appear on the right.
- Click the Convert to shared mailbox option.
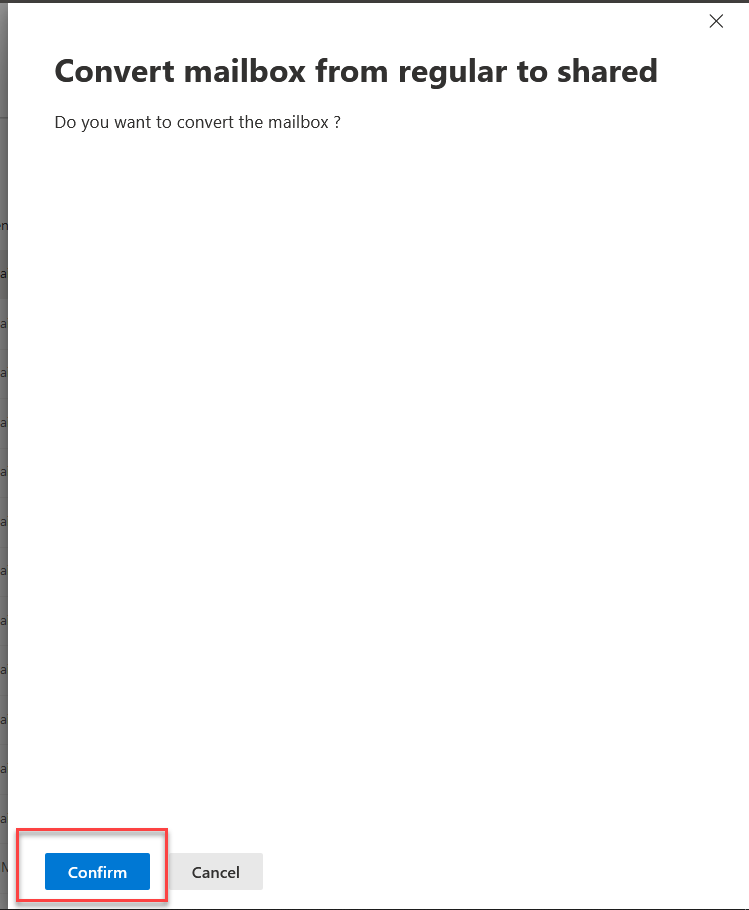
- The next screen will want you to confirm this action. Do so by clicking confirm.
- Exchange Online will convert this mailbox into a shared mailbox. It can take up to 30 minutes from my experience for this to happen. Once the mailbox is converted, the user plane will change and say shared mailbox.
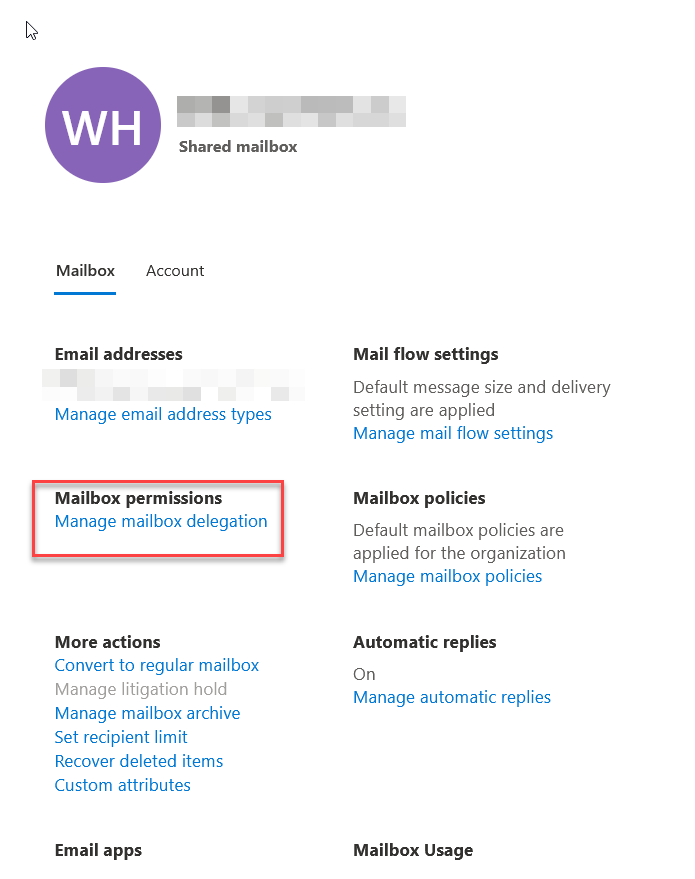
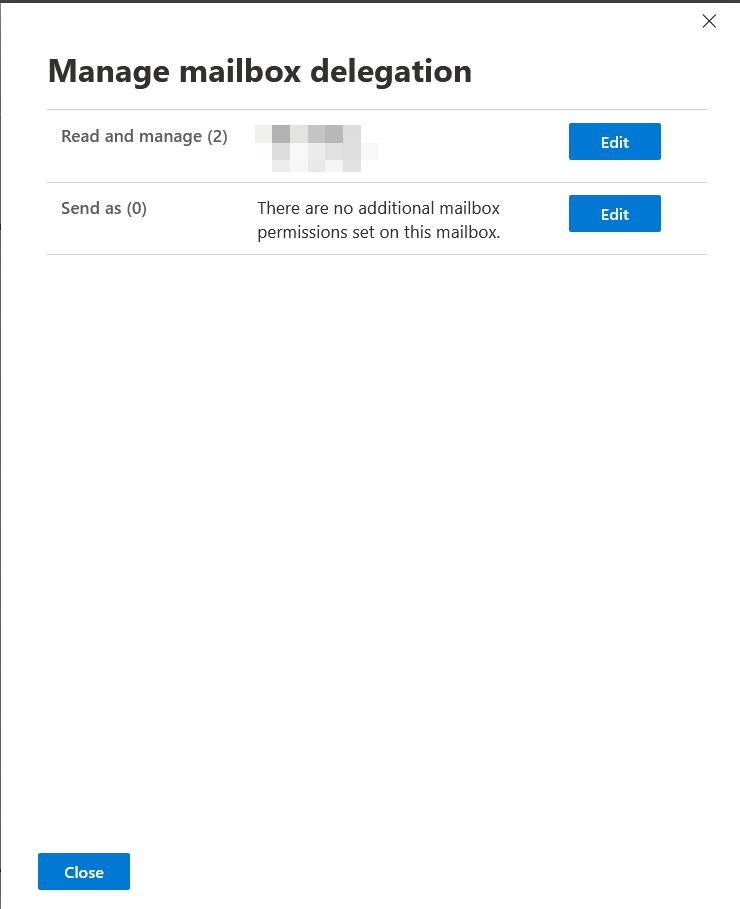
- Once the mailbox is a shared mailbox, indicated by saying shared mailbox under the display name. We need to grant permissions. To do that we click the Manage Mailbox delegation.
- Once in here, click the edit button for the read and manage option. I have never seen someone use the send as an option for former employees, but I have seen it for something like the marketing mailbox at a larger company.
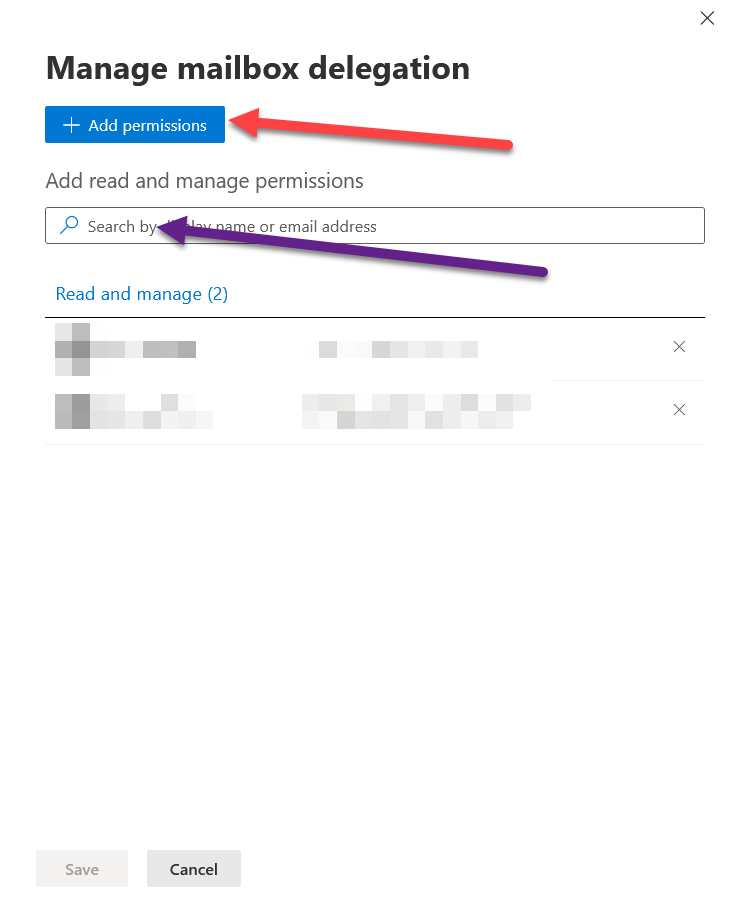
- Here you have two options, You can either type out the name, or click the add permissions button and search that way. The add permissions button list all of the users in the company, while the search box just searches by display name or email address.
- Make sure you are clicking save with each change or it will not be changed.
- Add the permissions accordingly and click save.
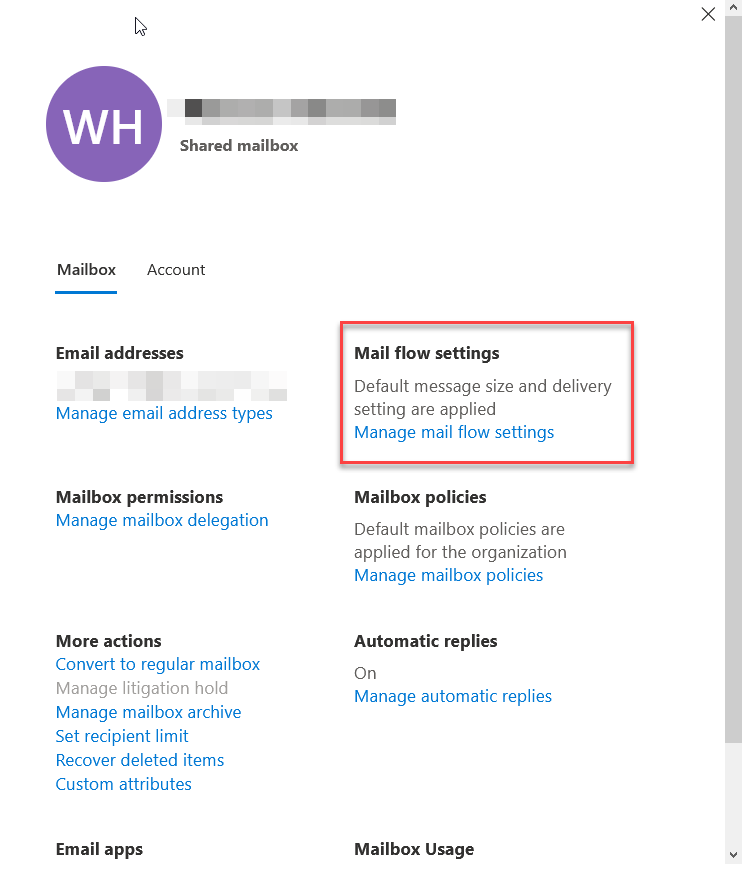
- Now we must set the forwarder. Click Manage Mailflow settings.
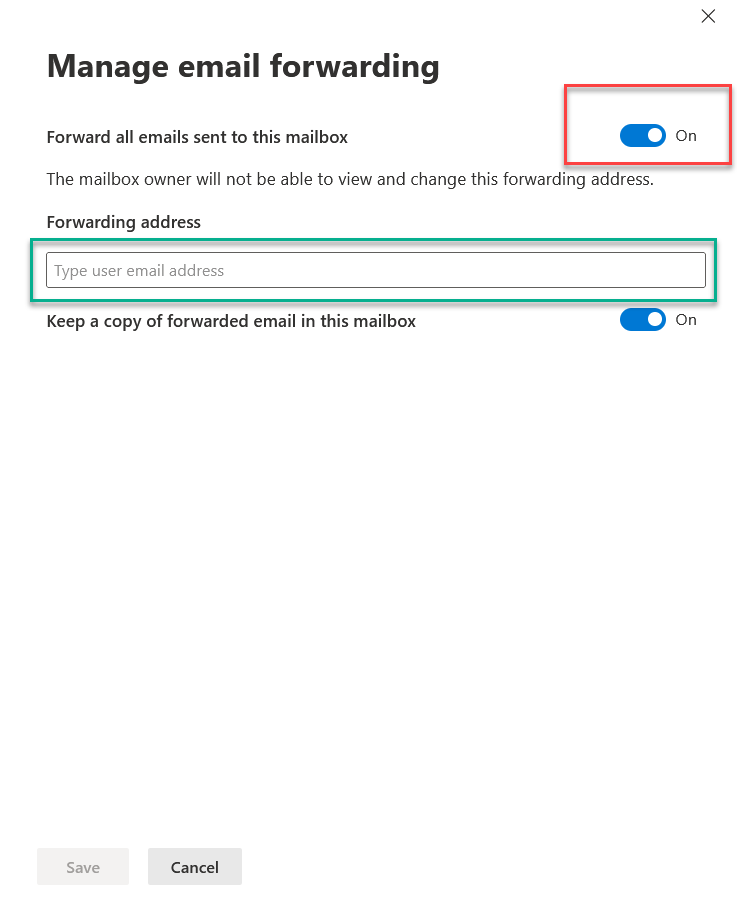
- Click the edit button for Email forwarding.
- Next, toggle button the Forward all emails sent to this mailbox
- The search box will appear. Search for the user and click add.
- Click Save.

Pros
- Previous emails are saved.
- Can have multiple people accessing the box together through delegations.
- Can set send as to mimic the previous employee's presence.
- Can set strict permissions to who and what can see what.
- Saves a license.
- Simple and industry standard.
- Forwarder set.
Cons
- Forwards to the single user, not multiple users.
- Set and forget. Often times you will end up with a large number of these boxes and will need to routinely clear them out.
- Mobile apps tend to have issues with shared mailboxes.
Use Case
As this is industry standard, it's very userful. A user leaves, convert the mailbox to a shared. It no longer has a password to worry about. Your users can gain direct access to the mailbox with outlook, or OWA.
Scripted Way
That's right every way can be scripted. Here is the script for this method.
$Username = Read-Host "Please enter the username of the employee"
$Delegets = Read-Host "Please Enter the name of the delegate"
set-mailbox $Username -Type Shared
Add-MailboxPermission -Identity "$Username" -User $Delegets -AccessRights FullAccess -InheritanceType All